Setting up Thunderbird for Mac
Follow this guide to set up your email account with IMAP in Thunderbird for Mac.
- Step 1 - Open Thunderbird and click on Email
- Step 2 - Type in your name, email address, and email password
- Step 3 - Check that the server settings are correct and click on Done
- Step 4 - Choose if you'd like to use Thunderbird as default and tick the options of your choice
- Step 5 - You're done!
Step 1 - Open Thunderbird and click on Email
Open Thunderbird on your computer and click on the box named Email.
Step 2 - Type in your name, email address, and email password
1. Type in Your name
2. Type in your Email address
3. Type in your Password
4. Click on Continue.
Step 3 - Check that the server settings are correct and click on Done
By default, Thunderbird should automatically find the correct server settings, as shown in the screenshot below. If the settings are correct, you click on Done to complete your account setup.
Note: If Thunderbird can't detect your settings automatically, please select IMAP and then enter the settings below:
Incoming mail: imap.one.com - 993 - SSL/TLS
Outgoing mail: send.one.com - 465 - SSL/TLS
Step 4 - Choose if you'd like to use Thunderbird as default and tick the options of your choice
In the box that appears now, you can choose to set Thunderbird as your default email client and tick the options you want to use Thunderbird as default for, for example, Calendar. When you have chosen your options, click on Set as Default.
If you don't want to use Thunderbird as the default email client, click on Skip Integration.
Step 5 - You're done!
You did it! Your email is now set up and ready to use. 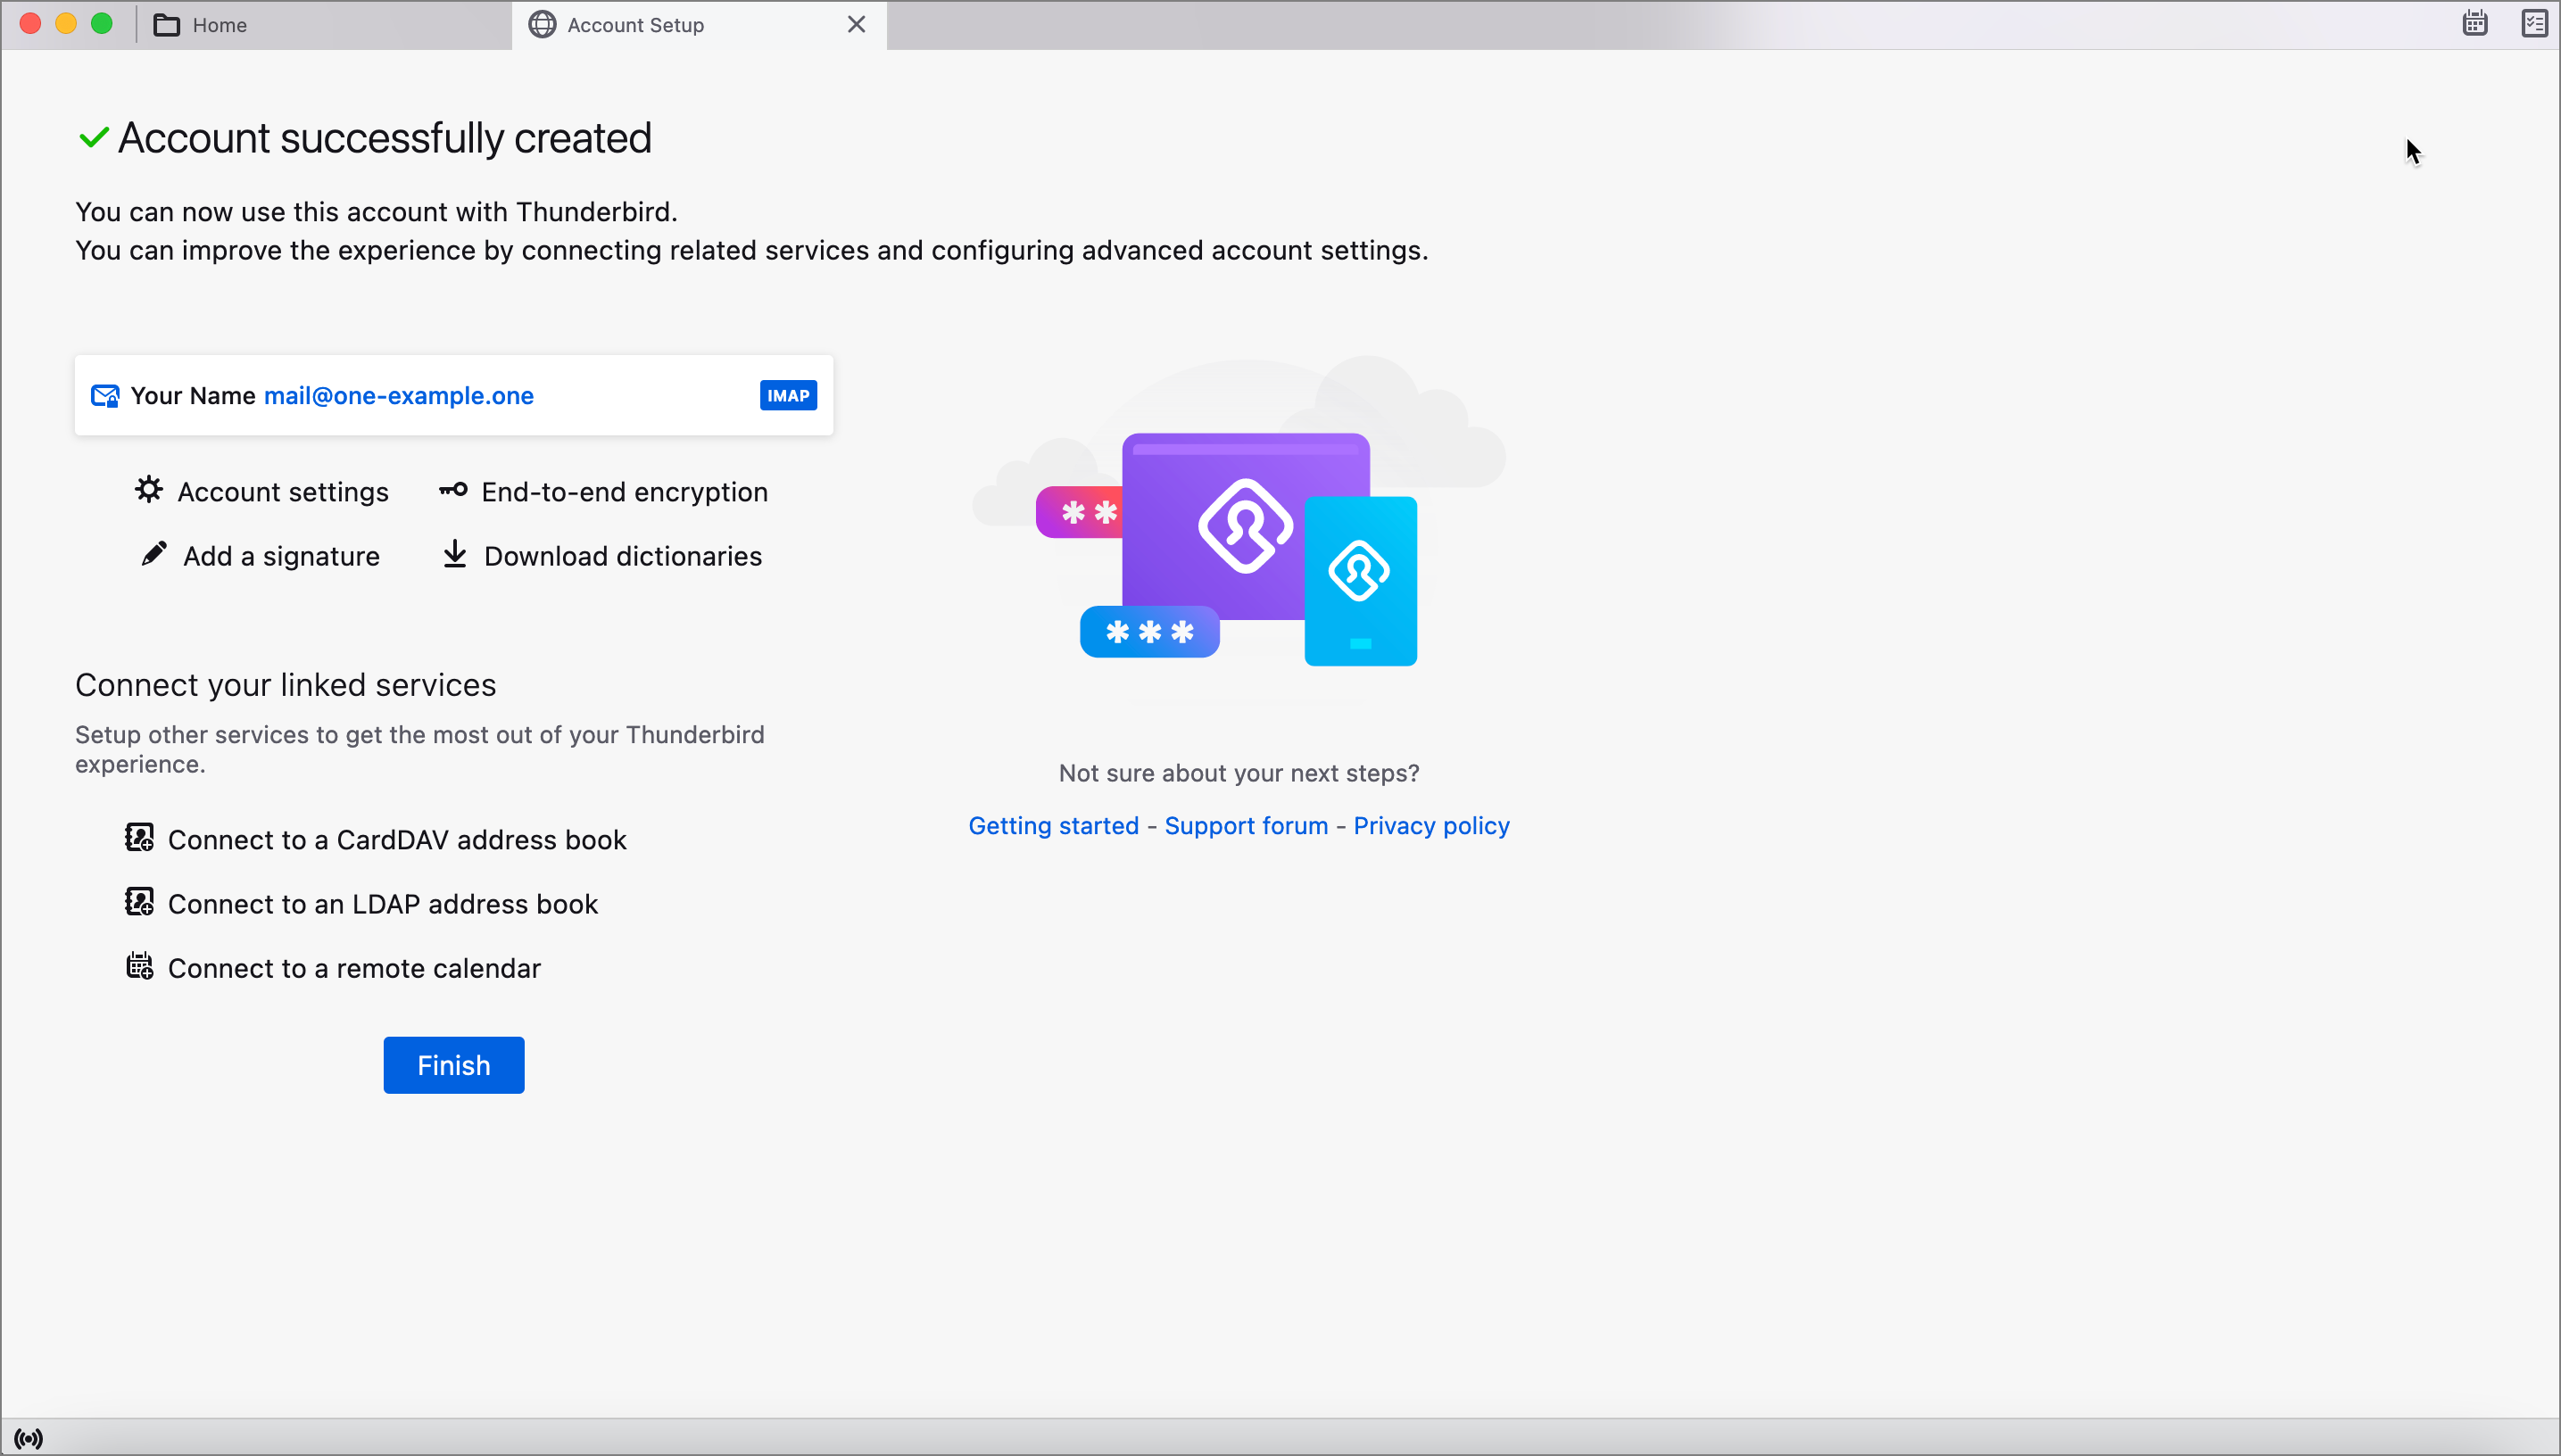 Your folders should sync automatically, but if they don't, you can go to your settings and subscribe to them.
Right-click on your email address and choose Subscribe. You can tick the folders and click OK in the window that pops up. See screenshot below.
Related articles: